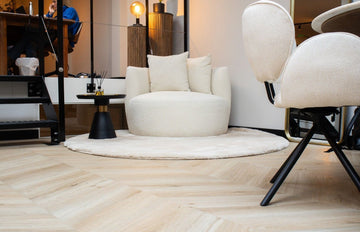
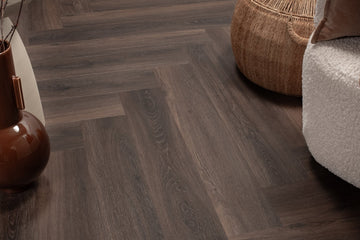
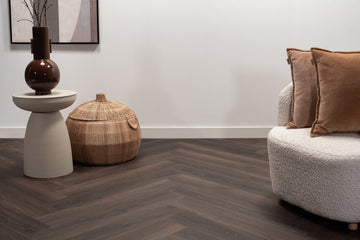
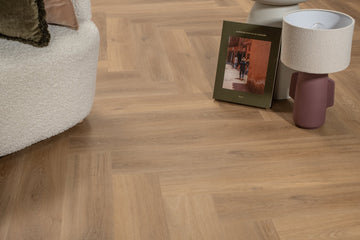
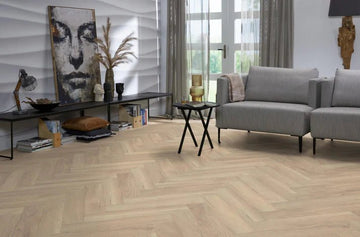
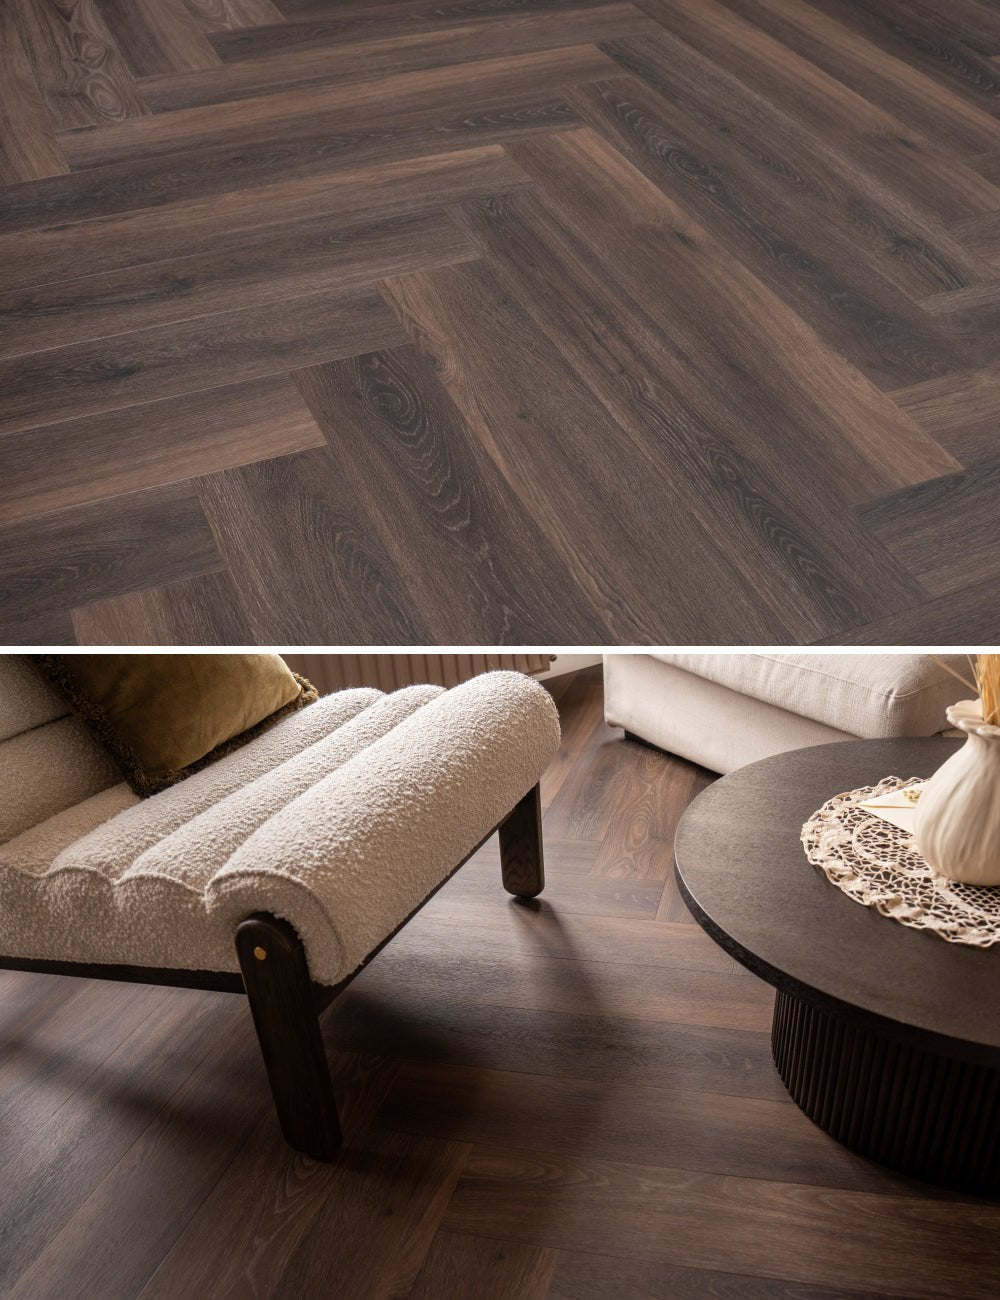
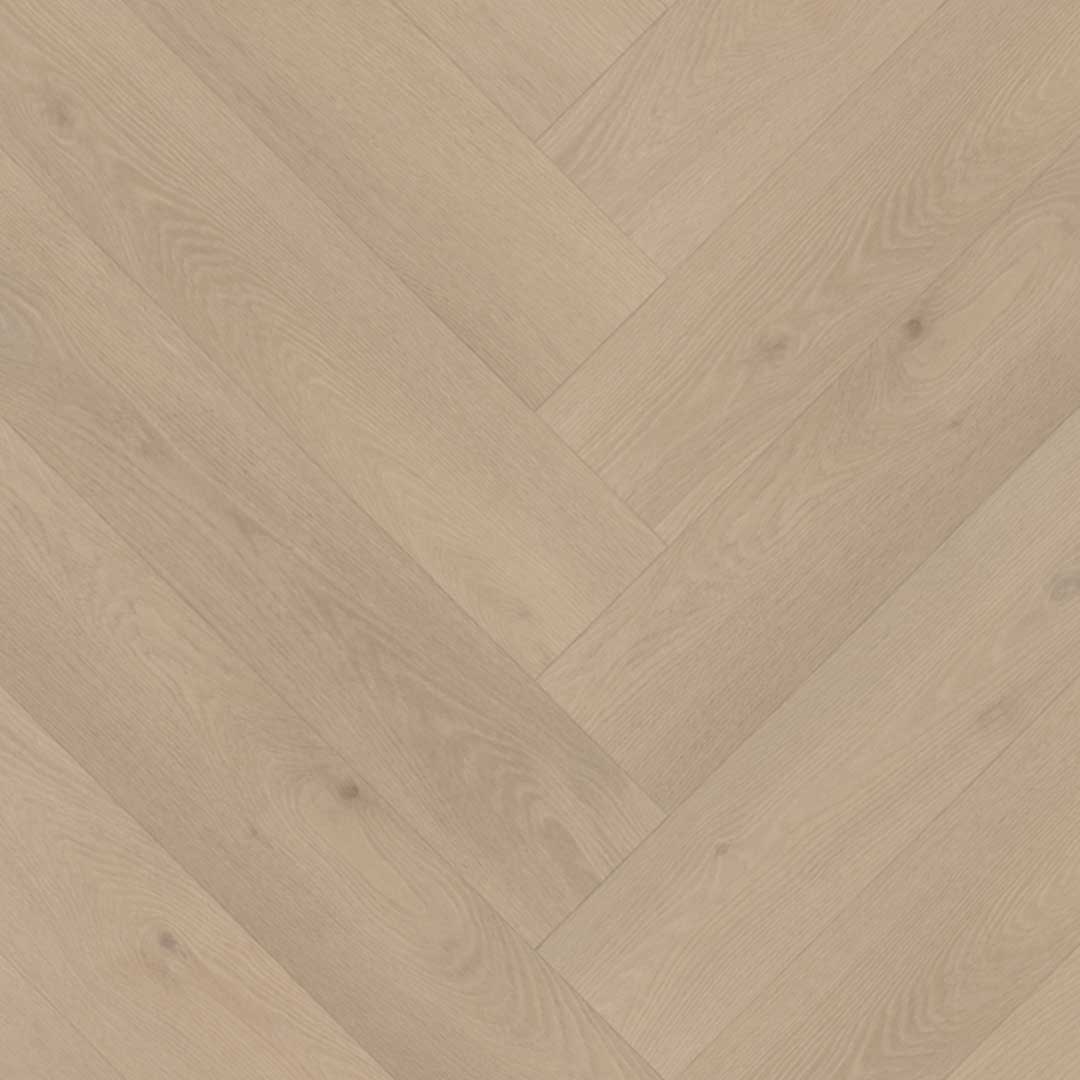
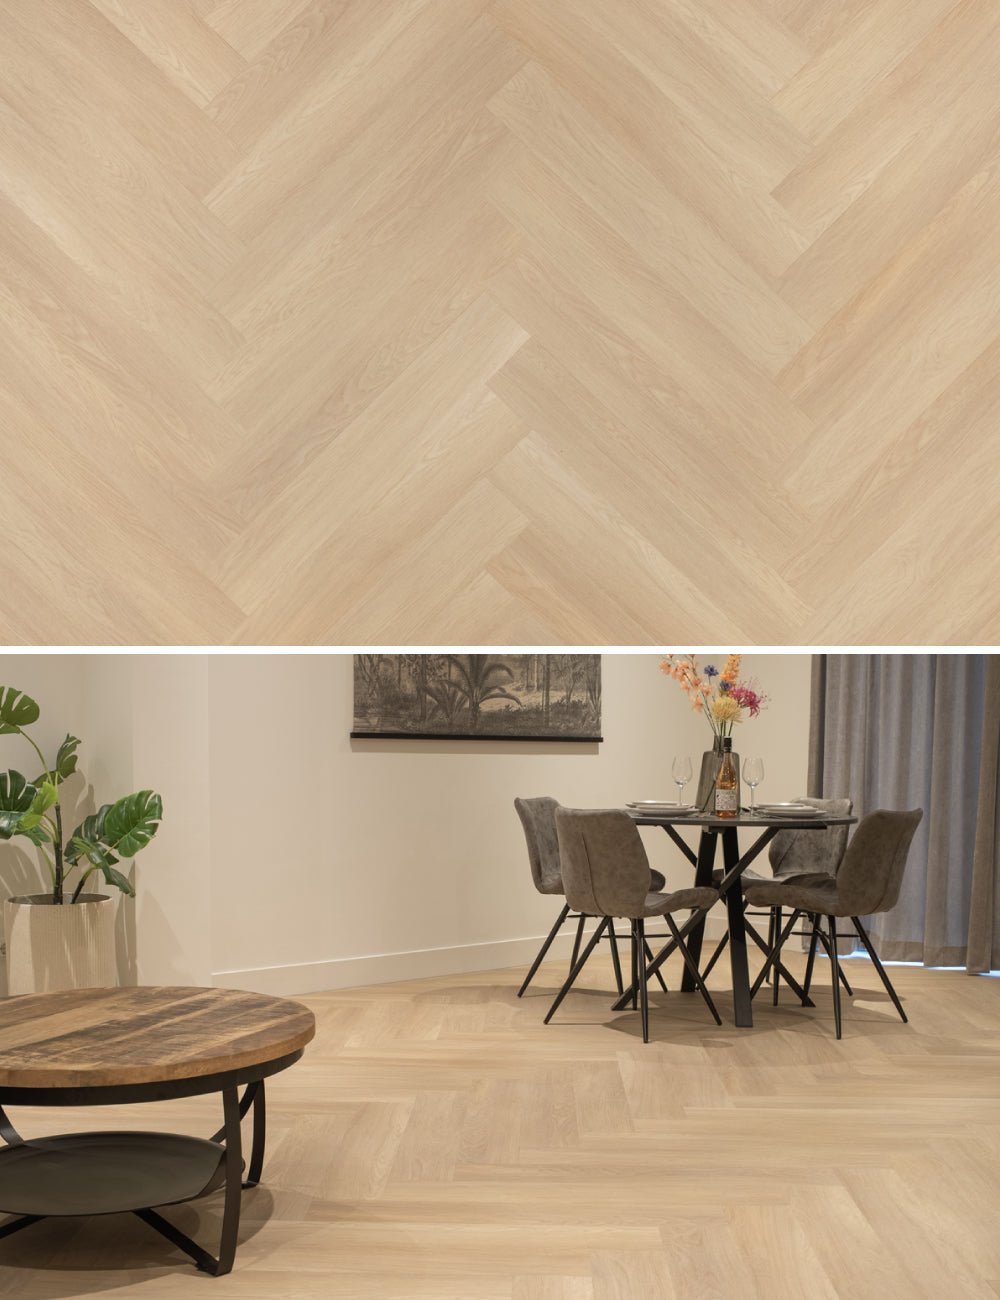
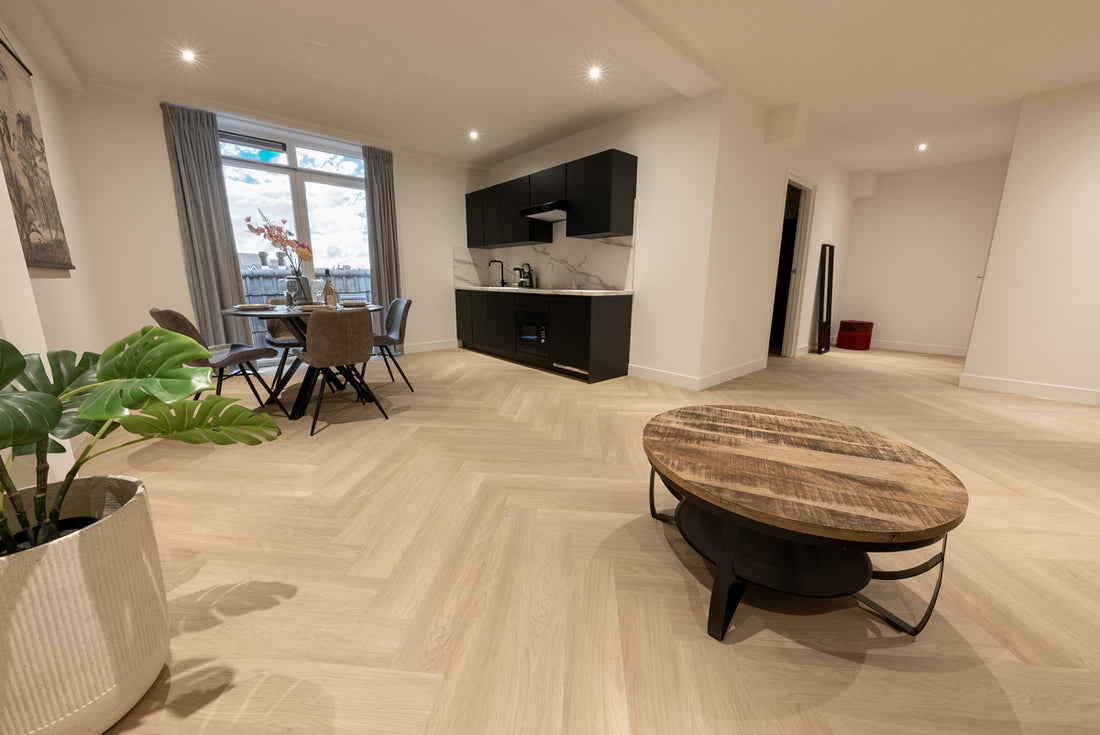
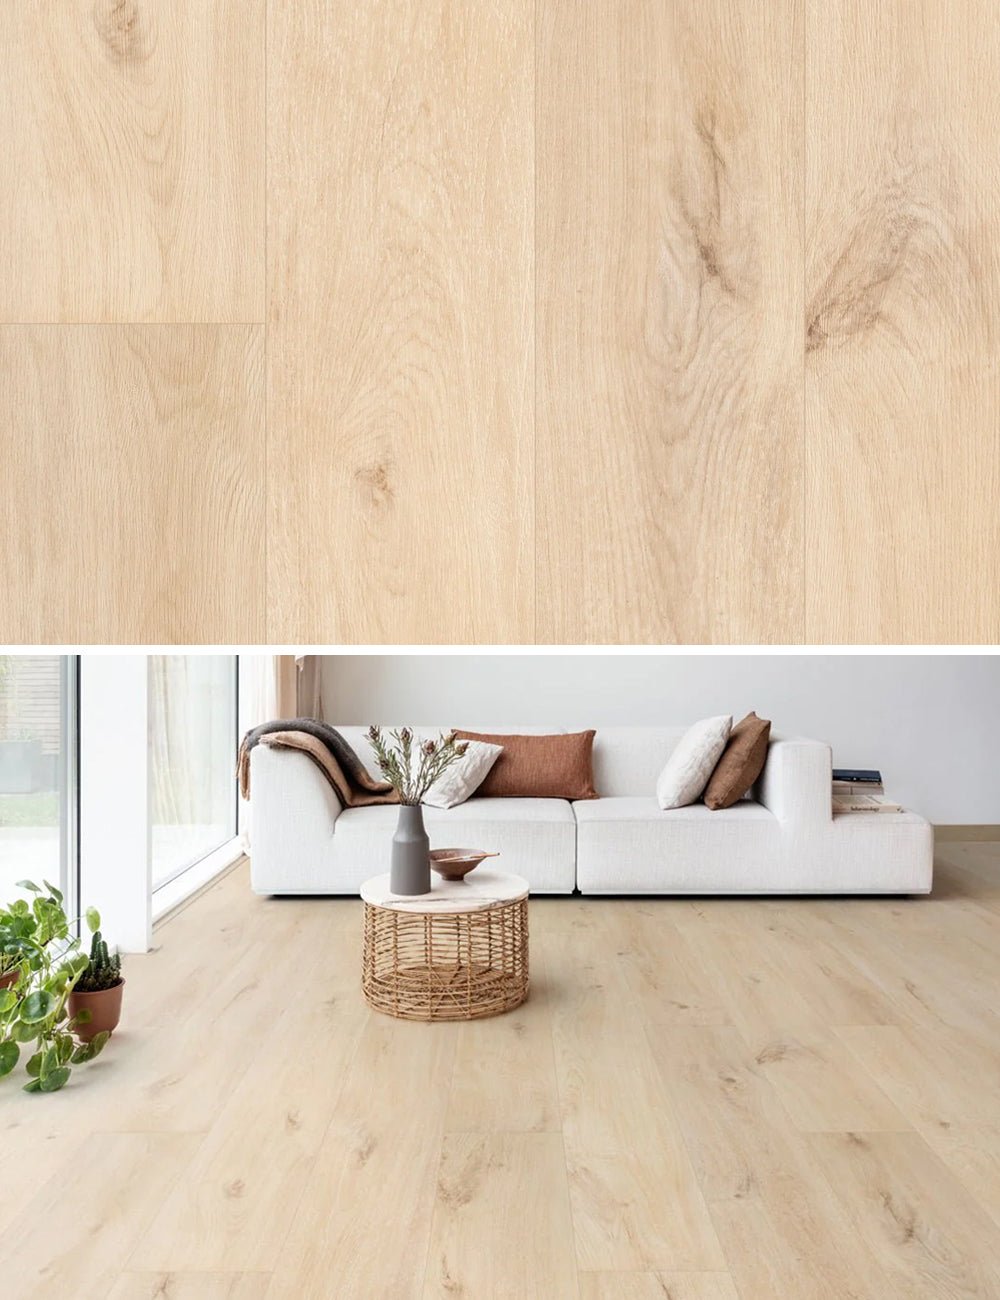
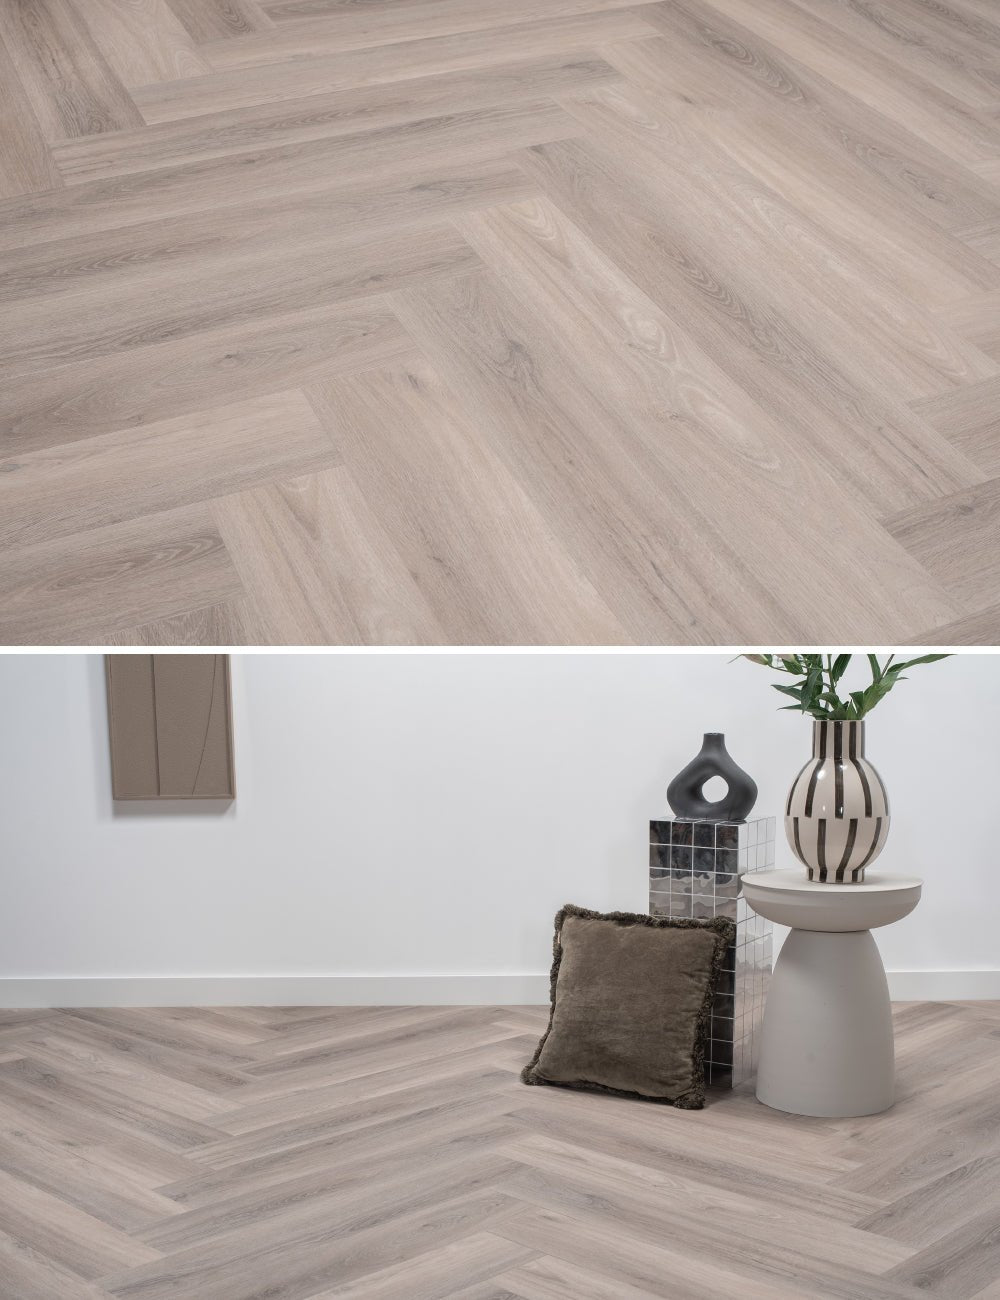
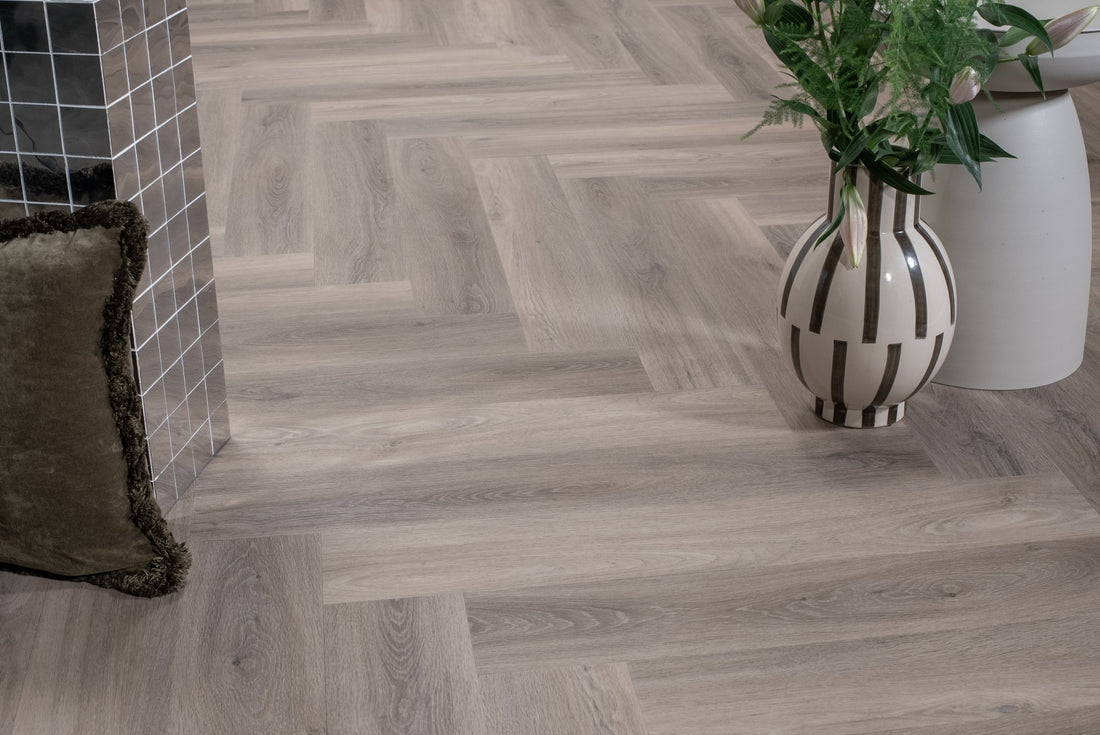
Laying a herringbone click PVC floor is relatively easy thanks to the handy click connection system. With the help of these steps, you can easily and quickly lay a herringbone pattern floor yourself. Incidentally, the step-by-step plan below applies to both herringbone click PVC floors and whalebone click PVC floors. So easy!
Step-by-step plan: How do you lay a herringbone click PVC floor?
Laying a herringbone click PVC floor requires a little more accuracy than laying a straight laminate floor. That is why it is useful to have some extra guidance. Below we have explained step-by-step what you have to go through to install the perfect herringbone click PVC floor yourself.

Step 1: Acclimatize the floorboards
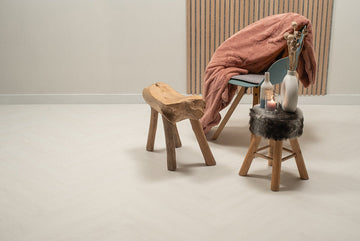
Let the floorboards acclimatize for at least 48 hours in the room where they will be placed, so that they can get used to the indoor climate. Preferably place the floorboards stacked in a hashtag context or as shown in the image above. This allows the floorboards to acclimatize and there is still enough air between the packs of floorboards.
Step 2: Clean the room
Clean the room thoroughly and make sure that there are no unevenness. Use a vacuum cleaner to remove dust and dirt and work away any blemishes with a putty knife.Step 3: Lay the subfloor
Place the subfloor on the cleaned surface and connect the different strips to each other. Use a subfloor with a high compressive strength, such as a subfloor specially designed for click PVC with a rigid core interlayer.
Are you curious which subfloor you need for the click PVC floor that you also have on it? Earlier we wrote a handy blog about which subfloor you should choose at click PVC. In addition, you can use our subfloor finder.
Step 4: Create a starter point
Create a starting point by clicking a few floorboards together and drawing a line from the highest point of one shelf to the lowest point of the other shelf. Cut the floorboards to size and save the leftovers for later use.Step 5: Connect the dots
Place the starter points next to each other against the wall where you start laying the floor. Connect the points by placing shelves on both sides and tapping well. Place spacers between the floor and the wall to maintain an even distance.Step 6: Lay the floor
Start by laying the floorboards in a zigzag pattern from left to right. Tap all parts well on the long side and the end side. Continue until the entire floor is laid.
With these steps you can lay a herringbone click PVC floor yourself. Follow the instructions carefully and enjoy your new floor!


