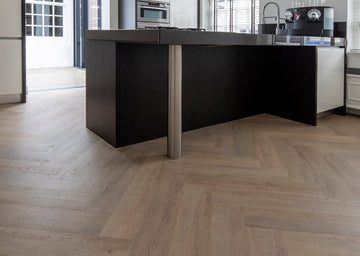
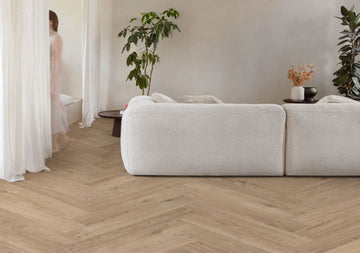
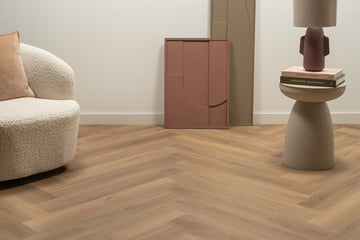
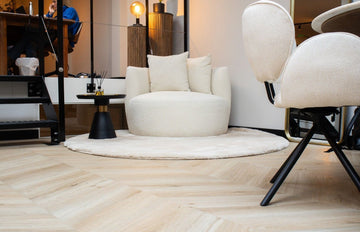
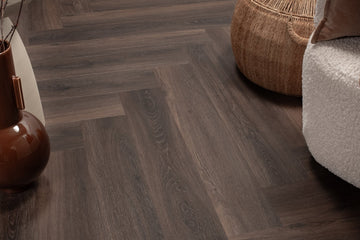
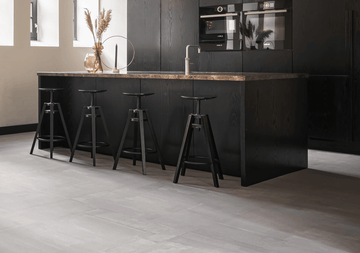
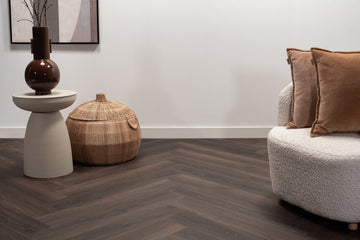
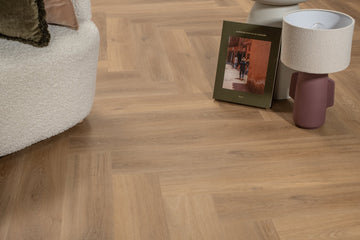
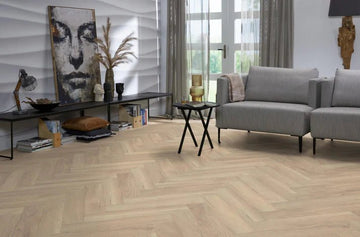
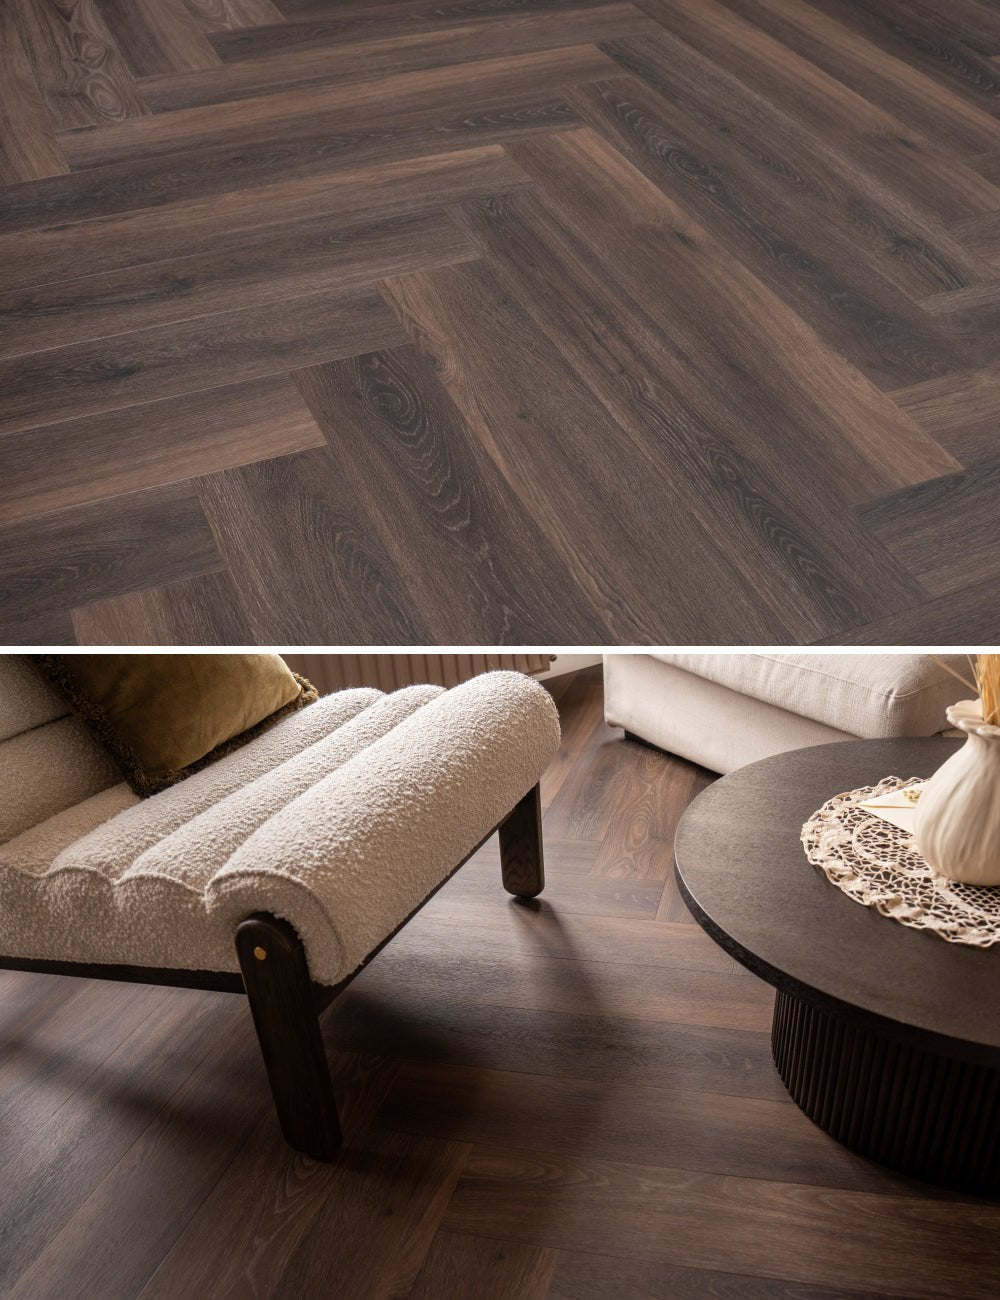
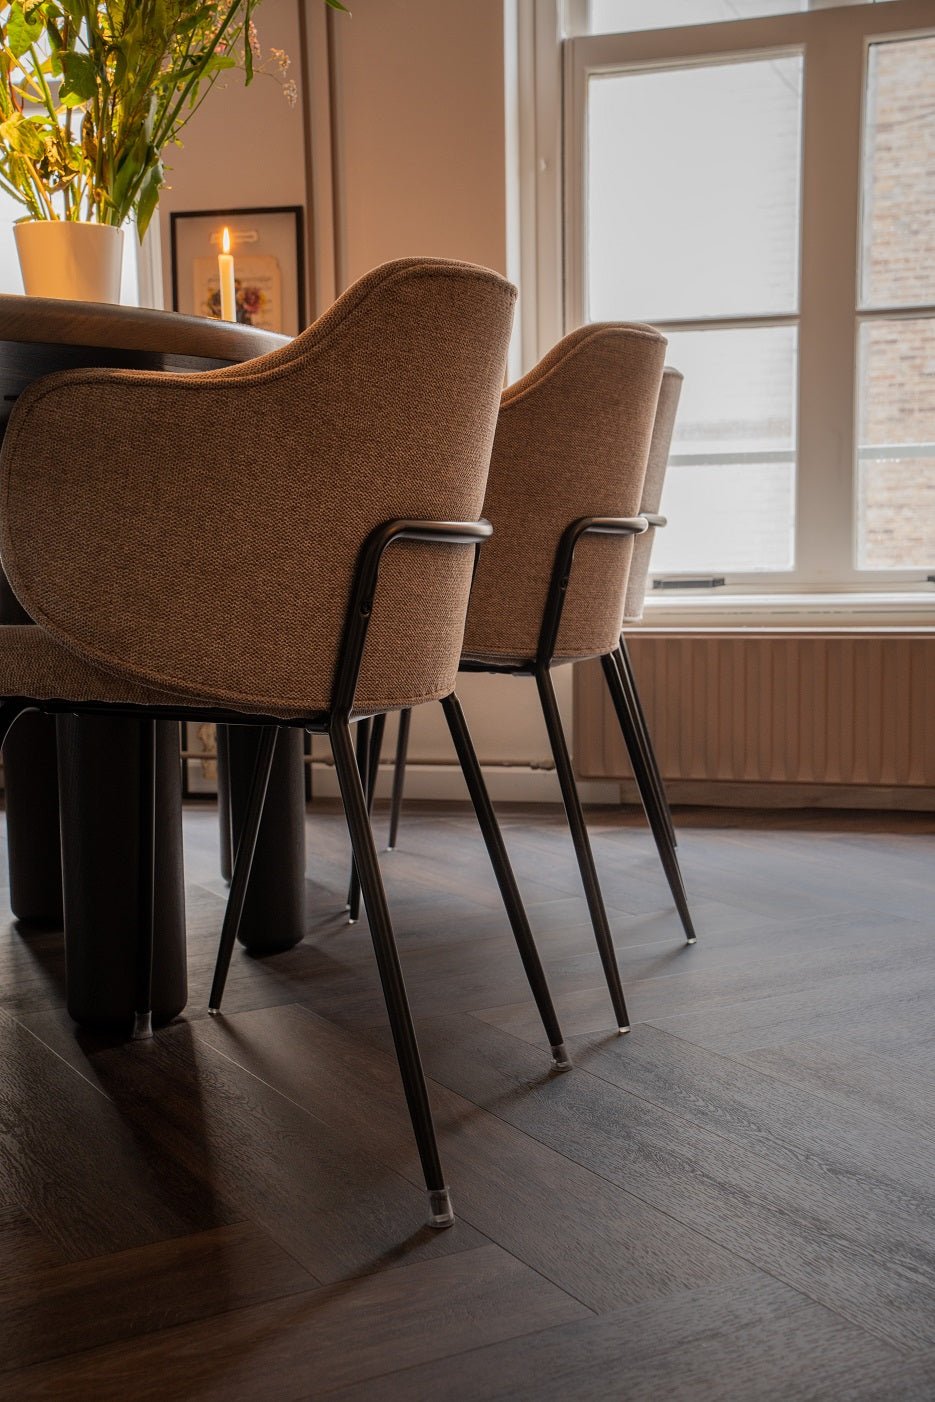
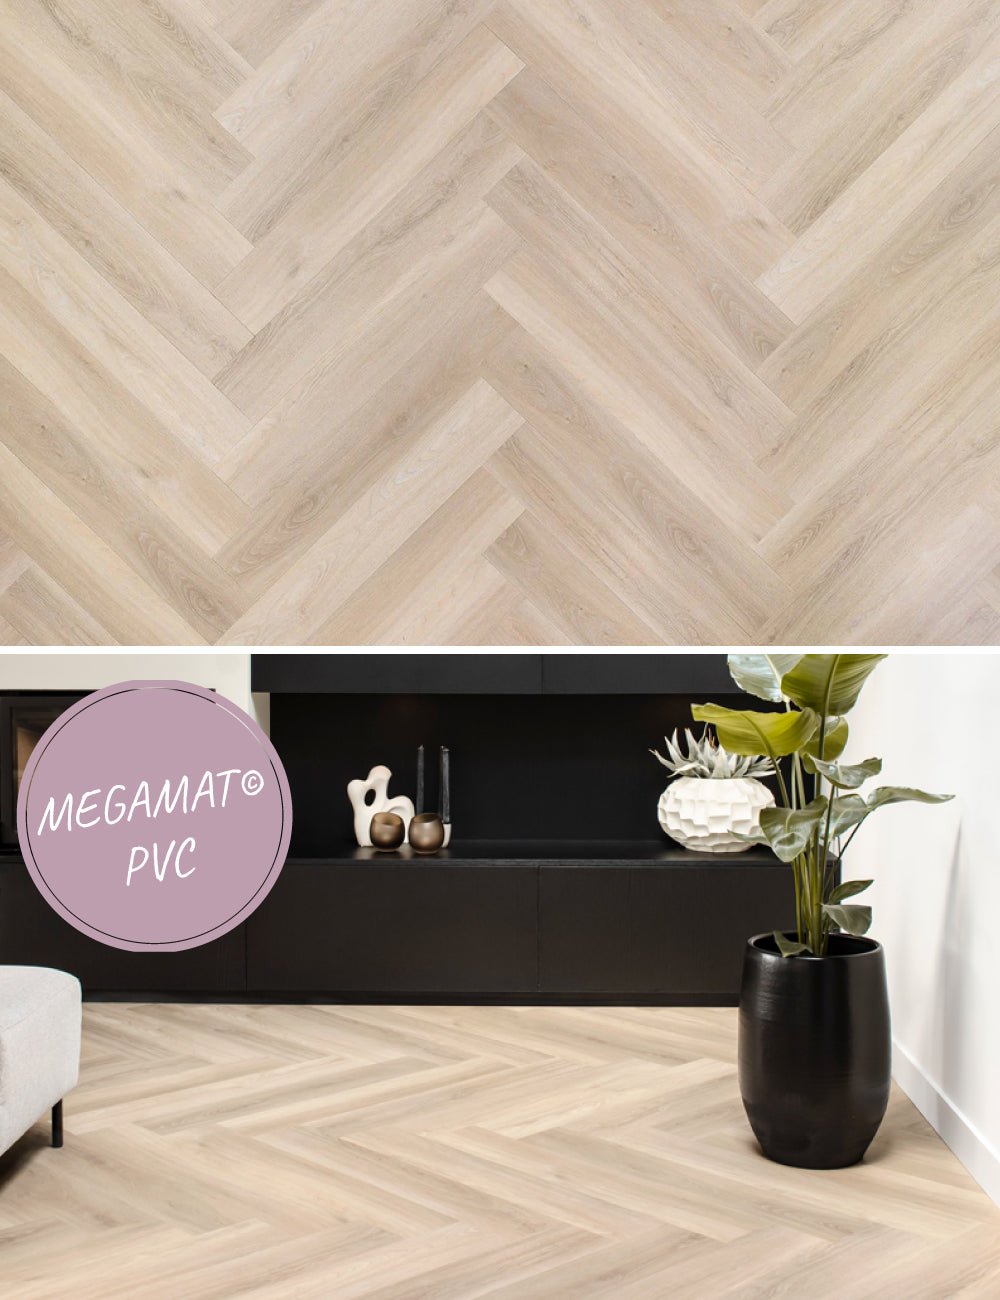
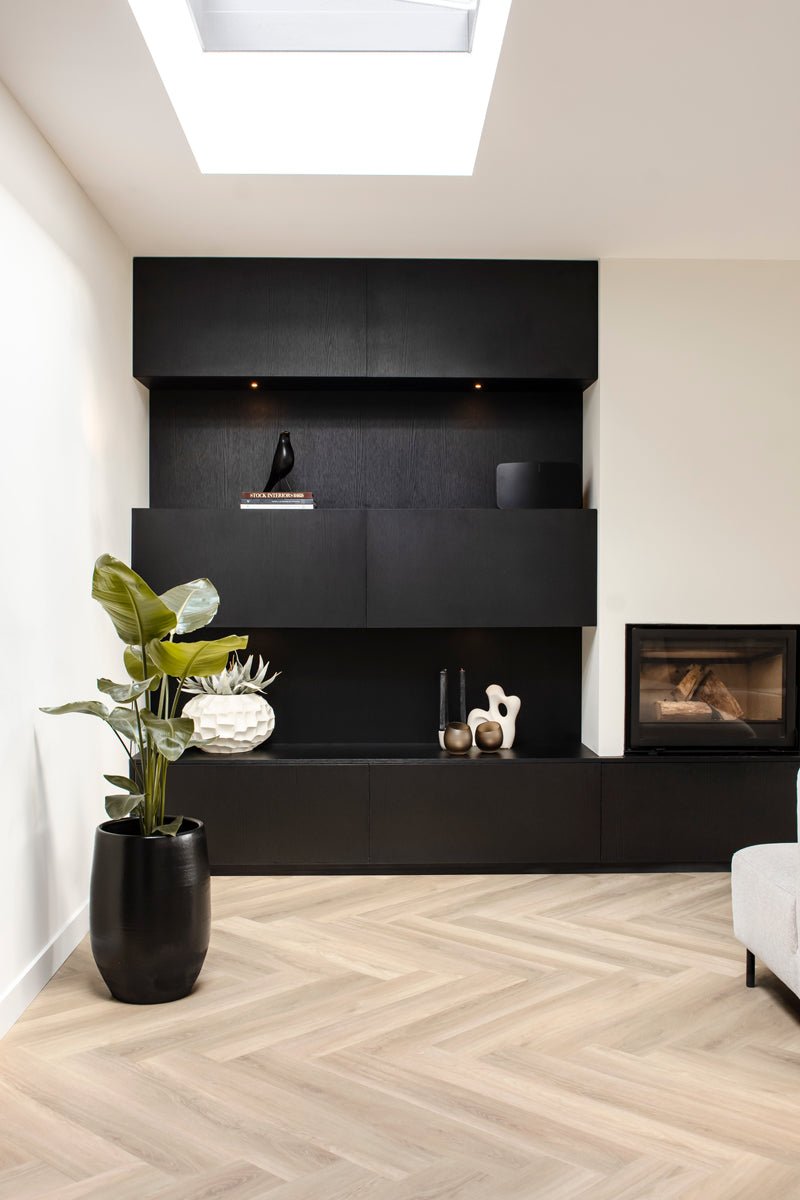
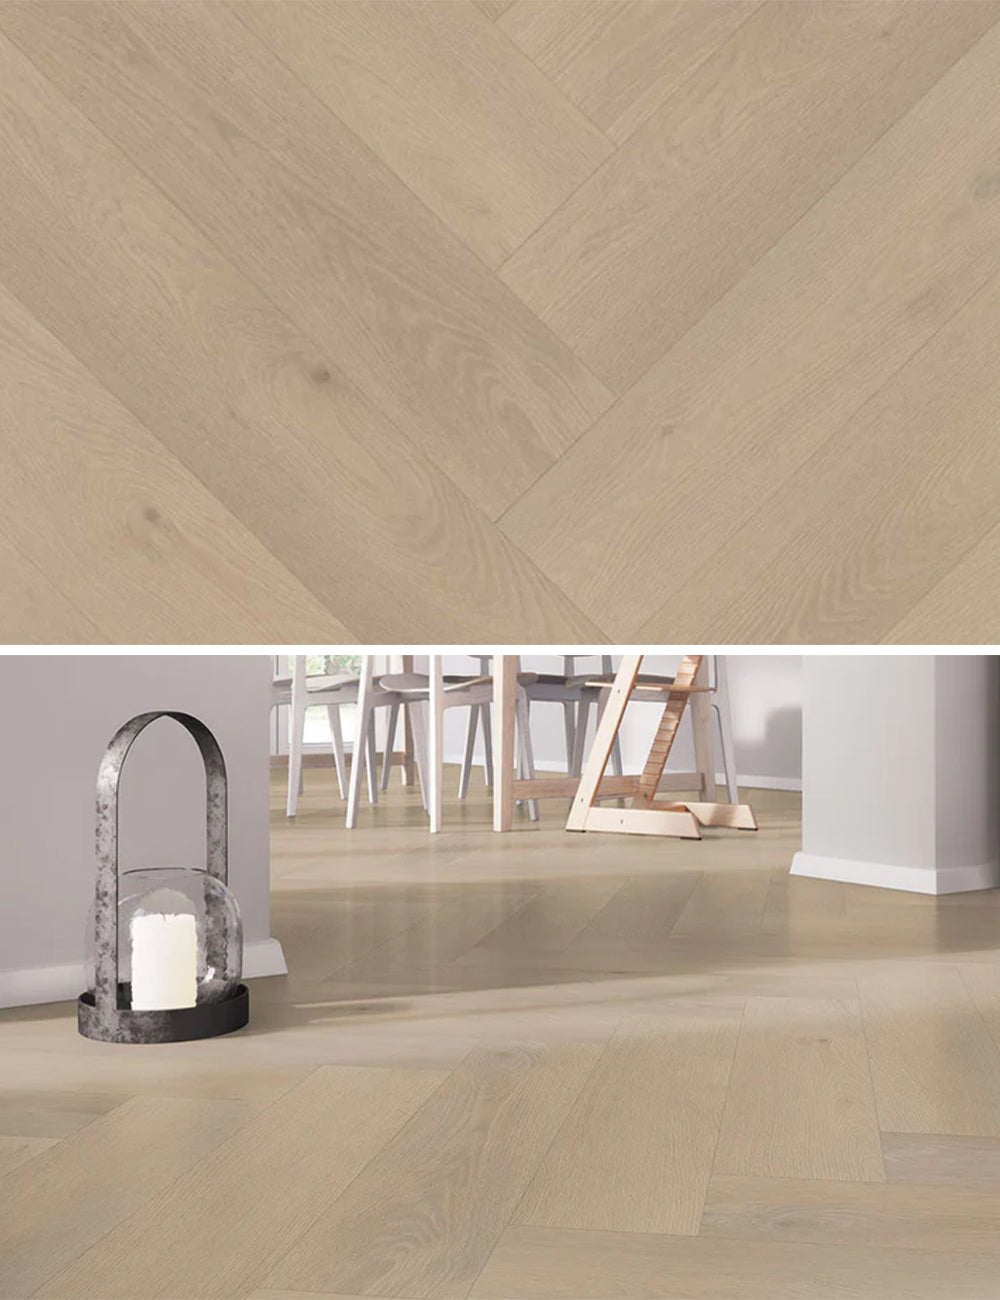
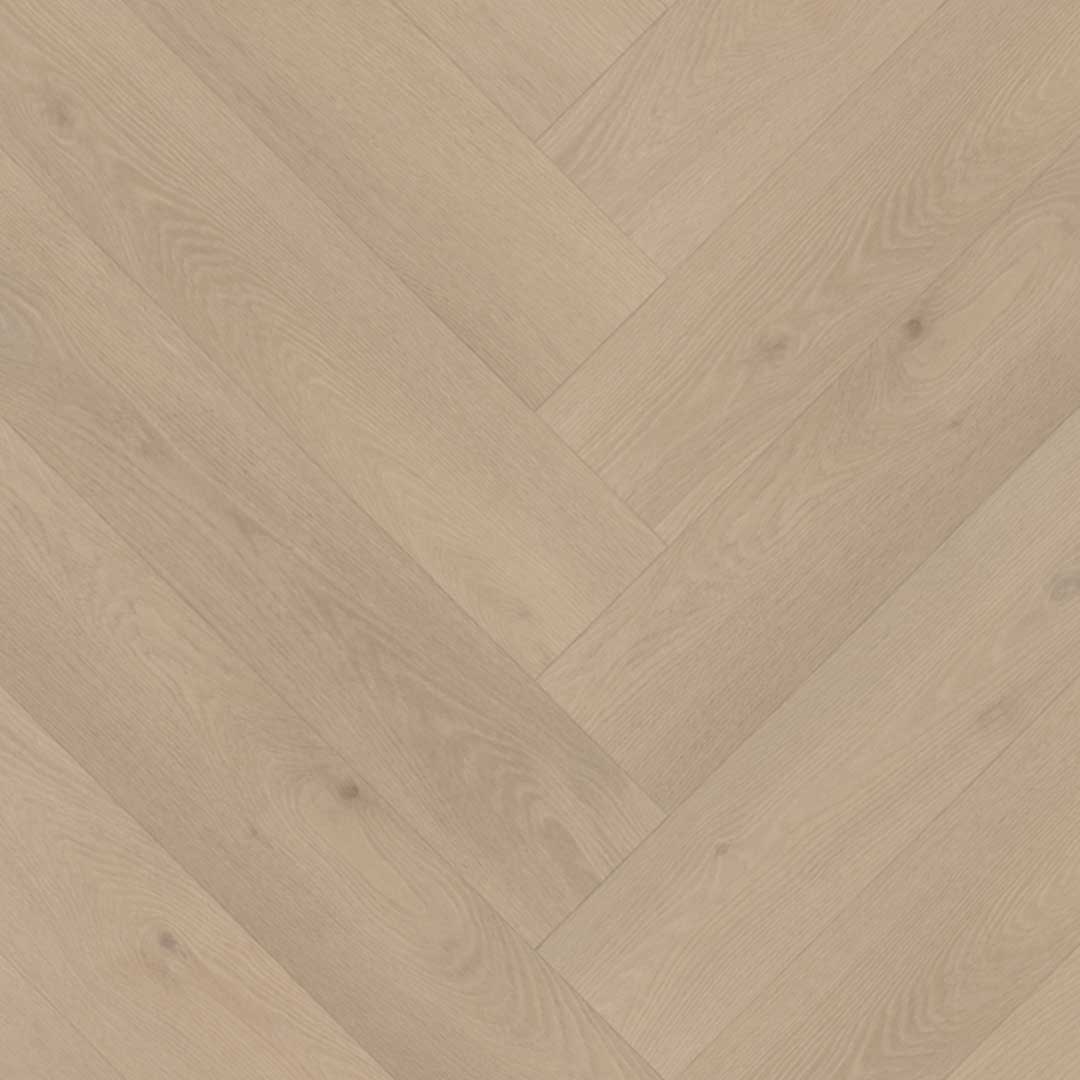
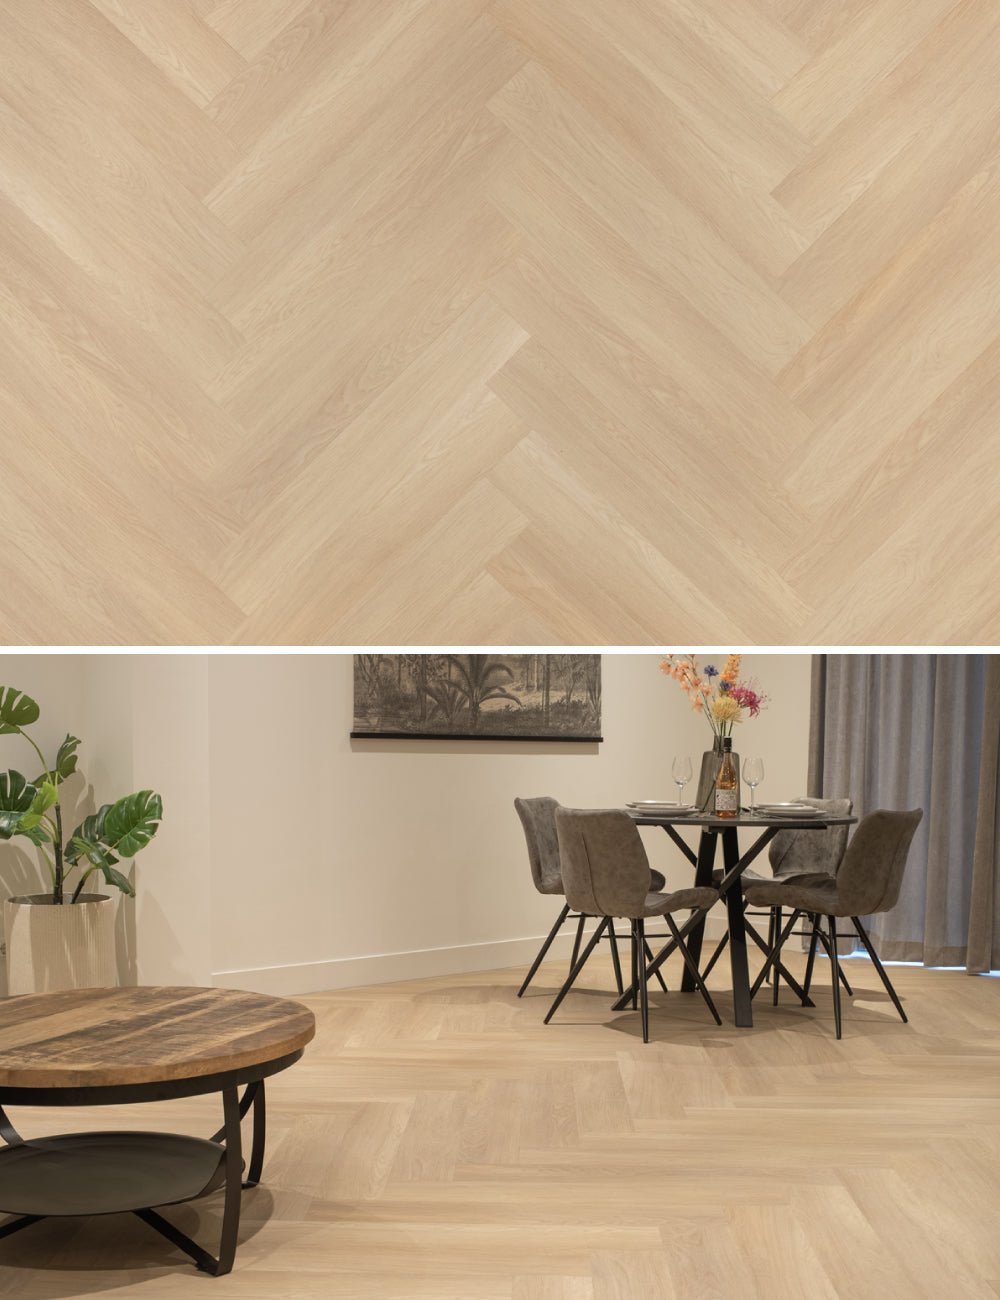
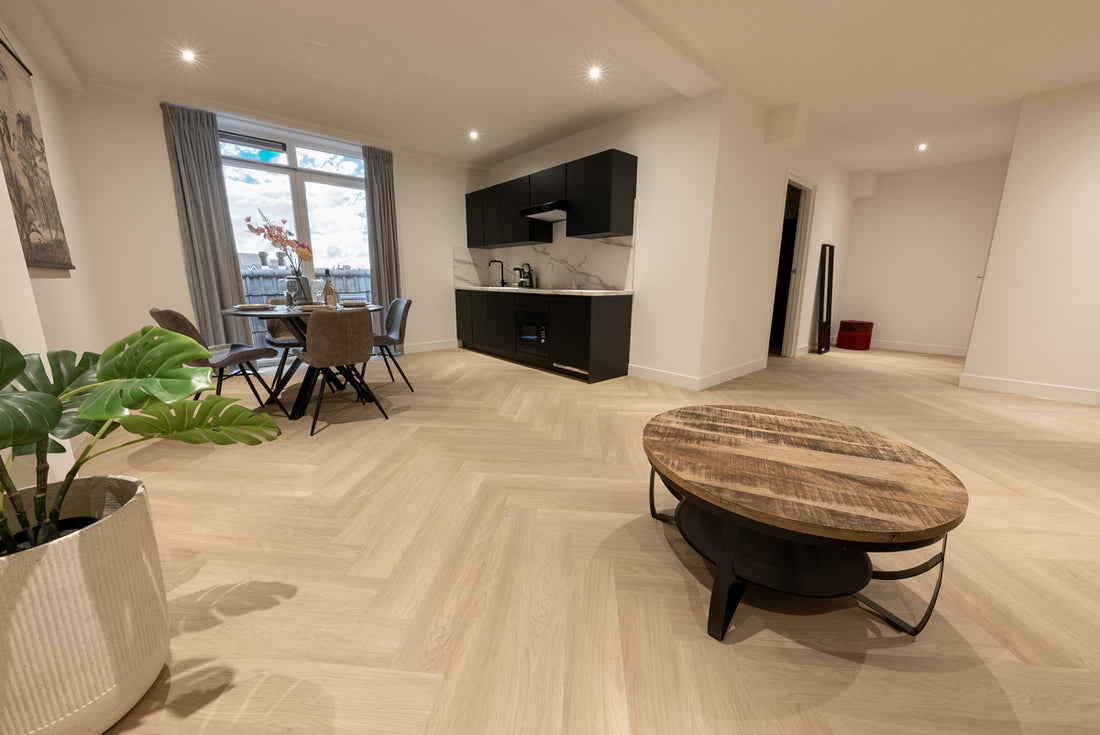
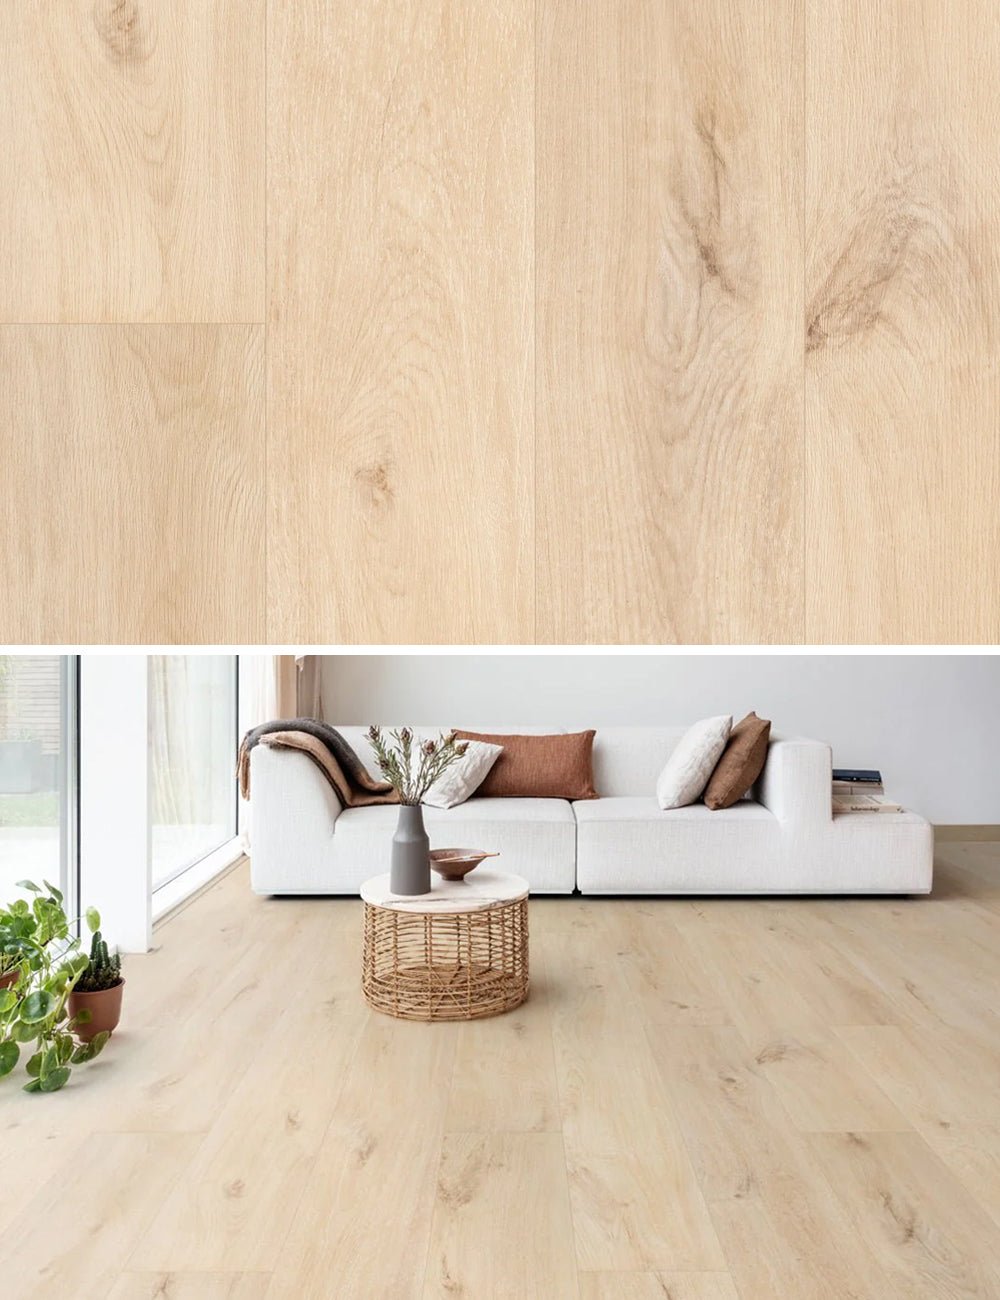
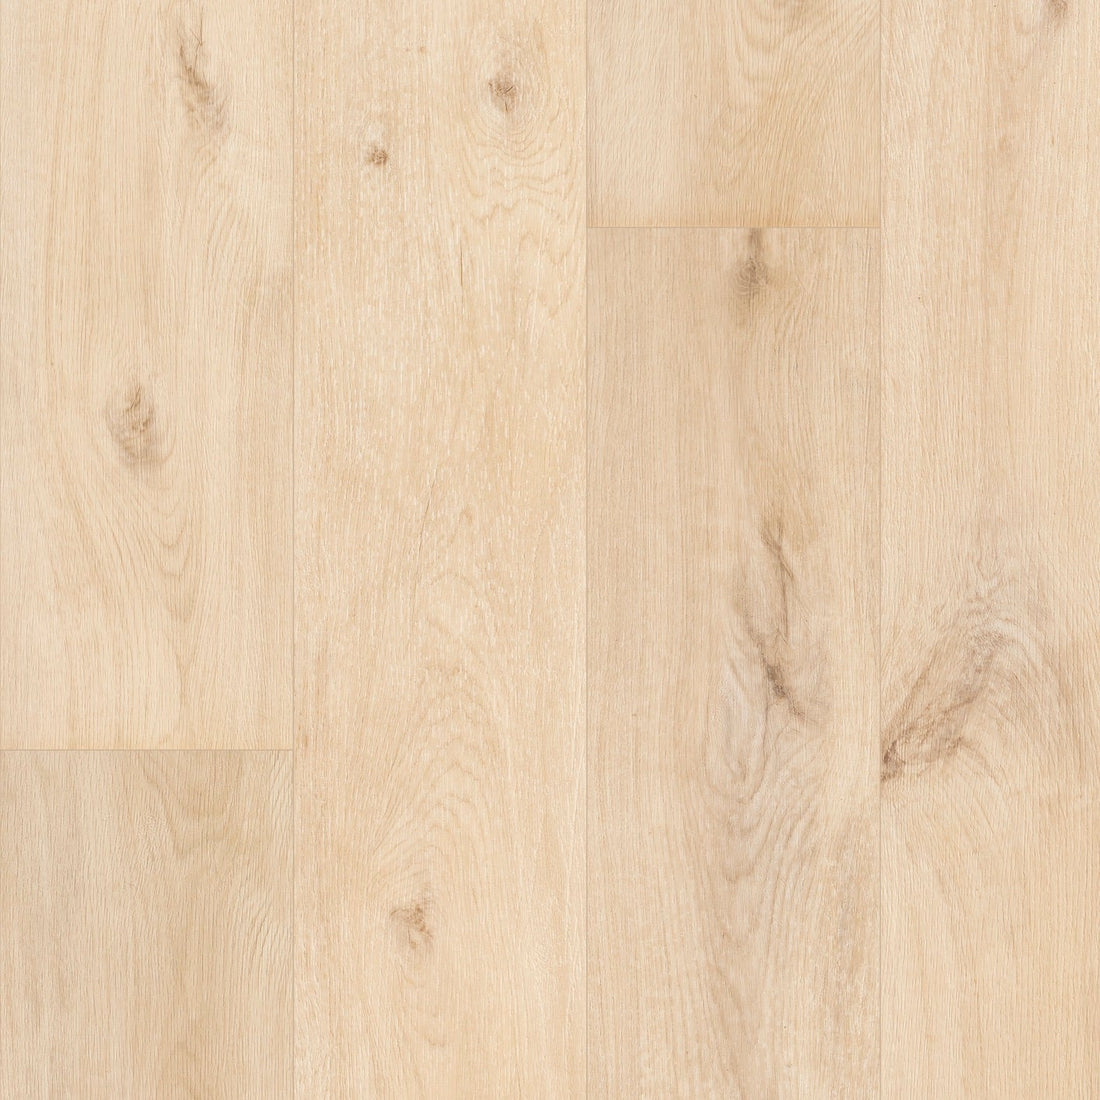
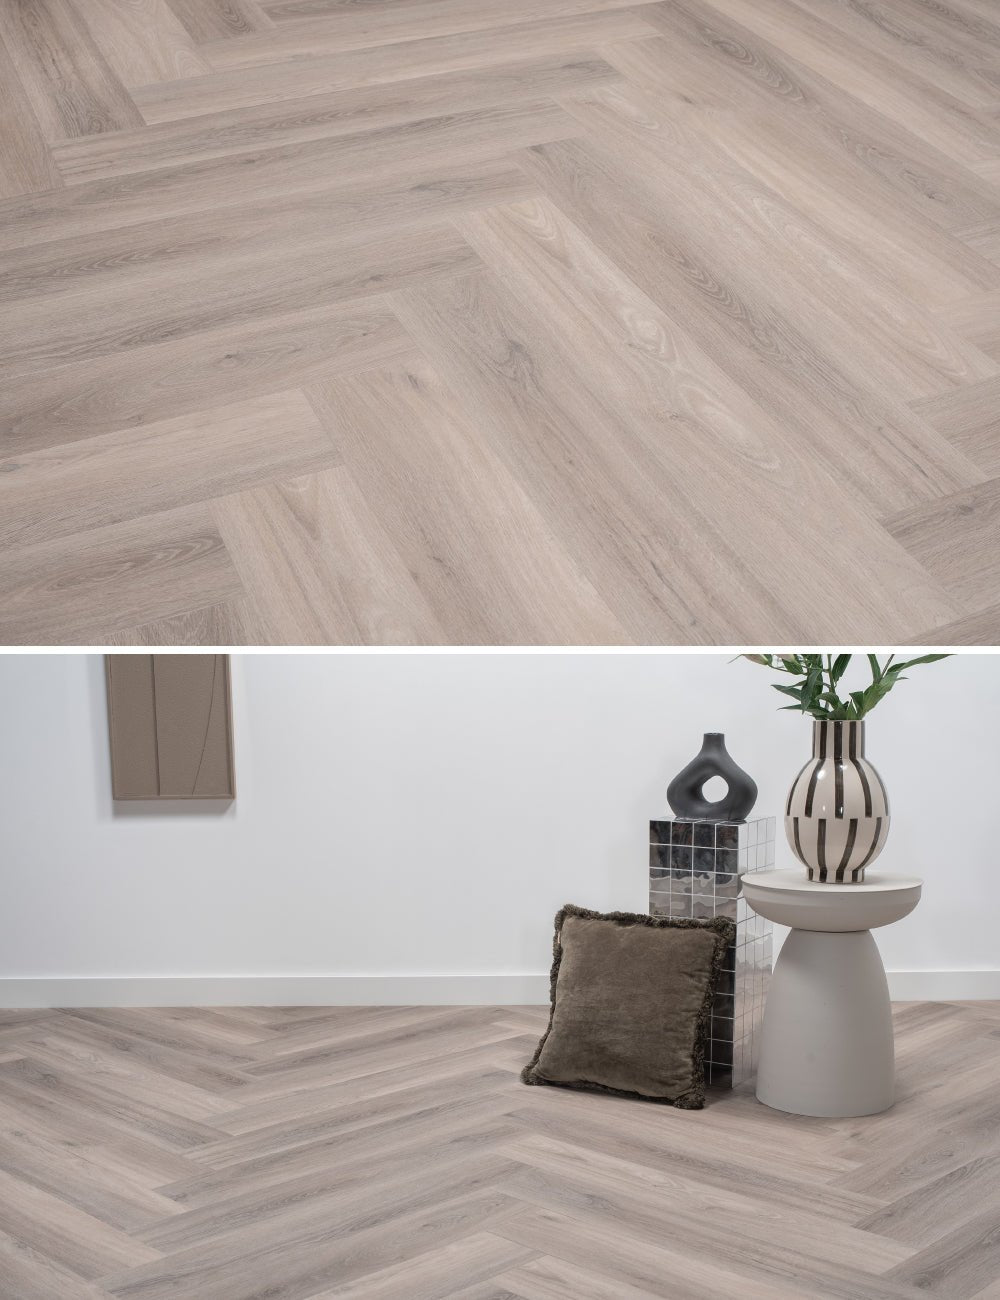
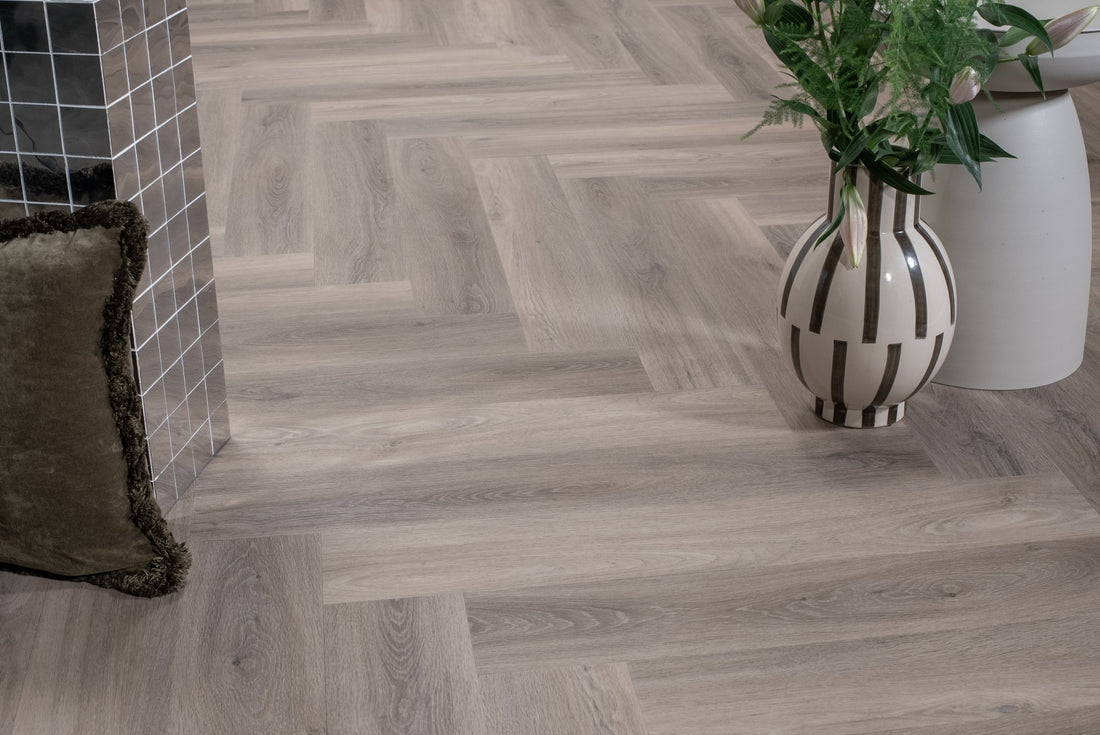
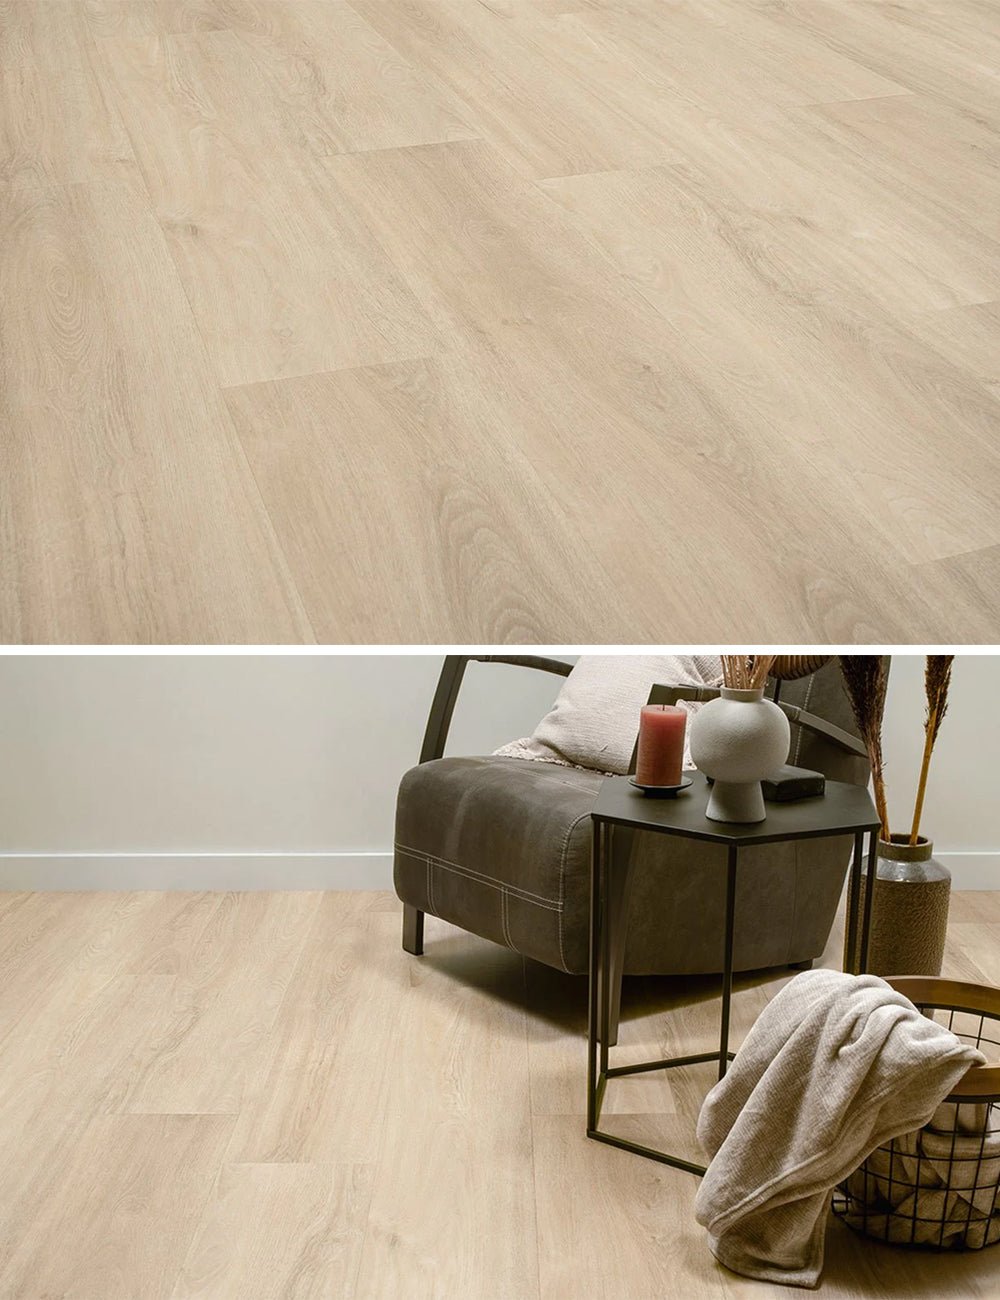
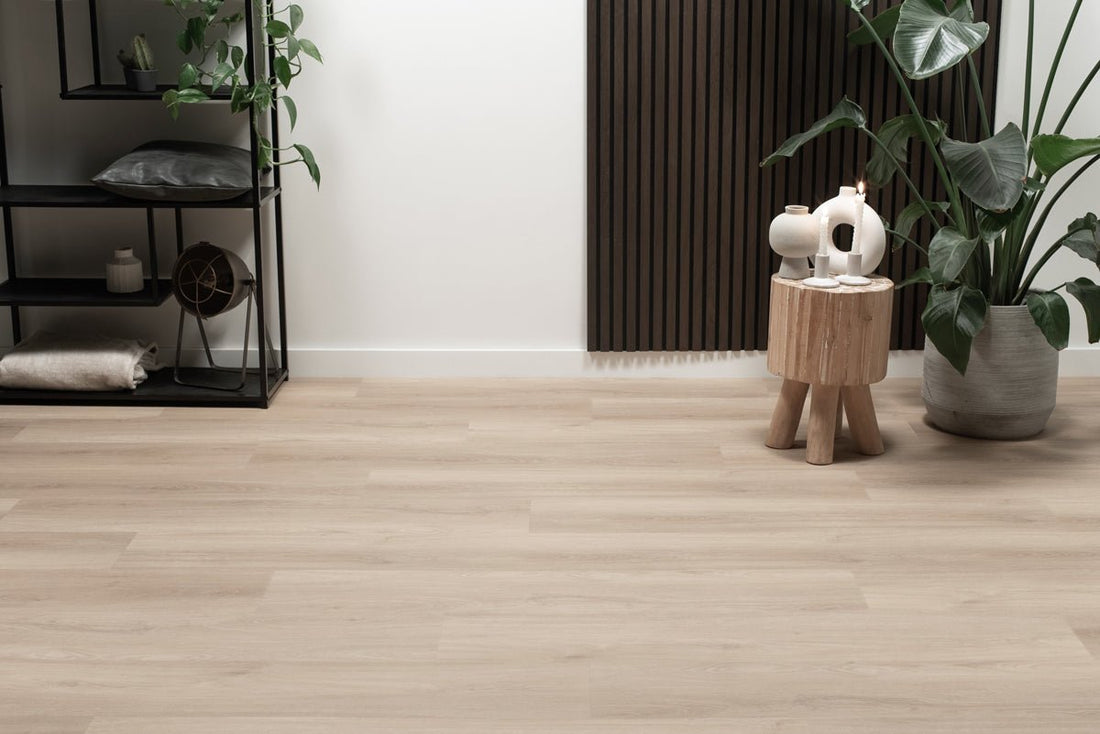
A herringbone PVC floor is a stylish floor that can have a very positive influence on your interior. The herringbone floor is a special way of laying your PVC floor. It is of course possible to call in a specialist who can lay this floor for you. The herringbone floor is not the easiest floor to lay yourself. However, if you have experience with jobs and want to take on the challenge, it is possible to lay your own PVC herringbone floor!
Laying a herringbone PVC floor
Due to the stylish appearance, PVC herringbone floors have become increasingly popular. In addition, PVC floors also have a lot of qualities that everyone wants. For example, the floor is durable, easy to maintain and many different types of designs are possible. With a herringbone floor, the various planks are laid in herringbone bandages on the floor. Please note: the step-by-step plan is made for a glued PVC floor.
Before you install the PVC floor, it is always important to have the planks acclimatize to your home. In every room, the temperature and humidity is different. The shelves have probably been in a department store for a very long time before delivery where the conditions are of course different. A change in temperature and humidity can cause the boards to shrink or grow slightly. If you lay the floor directly, this can result in a less perfect result and a lesser air flow through the PVC planks.
What do you need?
If you want to lay a herringbone PVC floor yourself, you need a number of things. Have the tool ready. This can save you a lot of time and effort. You will need:
- Tape measure
- Thread
- Potlood
- Vacuum cleaner
- Sander
- Brush
- PVC knipper of stanleymes
- T-square
- Glue comb (Suitable for PVC floors)
- Wals (32kg)
- PVC vloer planken (visgraat of walvisgraat)
For gluing a PVC floor, it is therefore very important that the surface is completely even. The smallest irregularities can be seen over time. Of course, this can also have an influence on the lifespan of the floor. Therefore, level your floor and wait until it is dry before you start installing the PVC floor.

Step 1: Sanding
Before you apply the floor, it is important that you sand the subfloor. If you use egaline to level the floor or have a wooden surface, sanding ensures that the glue adheres better.
Step 2: Cleaning
Is everything smooth and sanded? Then it's time to clean the surface very well! Your sander may have already caused a lot of mess and there may still be dust on the subfloor. It is very important that the floor is cleaned properly, for better adhesion of the glue and an even floor.
Step 3: Determine the direction of the pattern
If you want to lay a herringbone PVC floor, it is of course important which direction the floor goes and how exactly you want the pattern to be. This also directly determines whether you start from left to right, from right to left or from front to back.
Step 4: Span a line
Explain the pattern with the PVC boards that are now fully acclimatized. Make sure you don't come out on the left with half a shelf and have a full floor section on the right. Shift the point so that there is just as much space left on both sides. This helps determine the right start and straighten your new floor. Use a full herringbone point and measure the distance from the tip to the wall and do this on both sides. Then take a wire and stretch it between the two marked spaces.
Step 5: Start posting
First, start laying out the floorboards without glue. With a shopping hook and the wire you can place the floorboards according to the pattern and then shift them until they are straight. If your points are aligned with the line, this means that they are straight. If they are really straight, you can already attach four strips of PVC to the ground with glue. This is the start of your floor.
The next step is to apply glue to the floor. An adhesive comb distributes the adhesive evenly in a way that is especially suitable for PVC floors. The toothing of PVC glue combs are specially made for the PVC floor and ensures the best adhesion. Apply the glue and continue placing the pattern. Is your floor glued? Then wait 20 minutes for the glue to be optimally bonded and continue with the rest of the floor.
Tip!
The best way to lay the floor is in the zigzag way. So first you do the middle line that follows the wire, and then you zigzag through the room. With each line, wait 20 minutes for the glue to be properly adhered.
Step 6: Roll and clean up!
By using a roller you ensure that the floor really gets in place. Use a roller of at least 32 kilos and go both over the width of the room and the length. Then you can clean the floor well (use PVC cleaner) and the furniture can be placed again. The last step is to enjoy your beautiful new PVC herringbone floor for years to come!


